Project settings
Project settings control the format and timing of the active project.
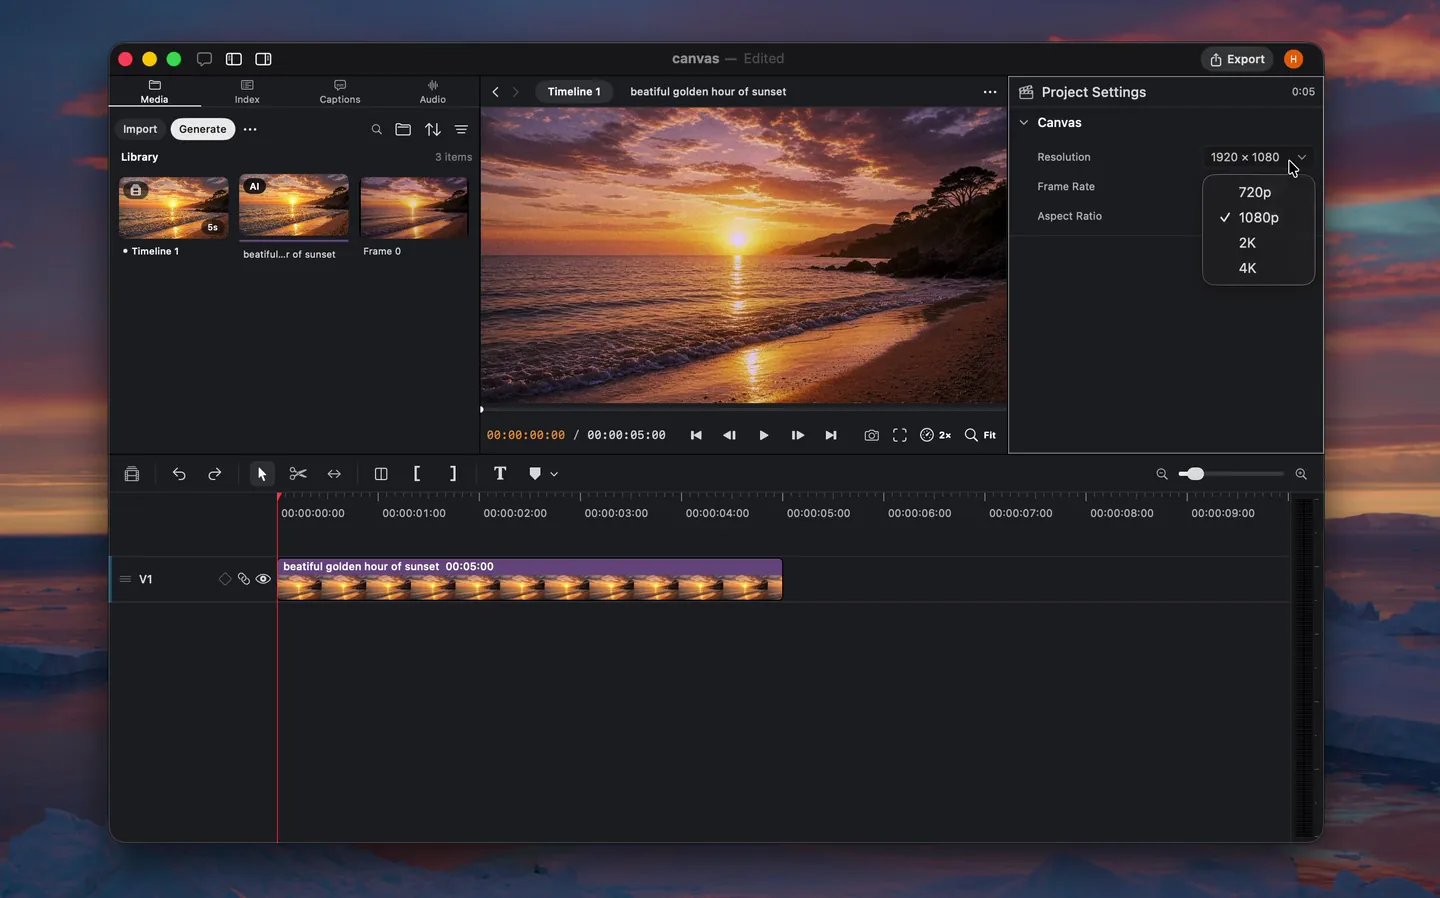
Resolution and aspect ratio
Choose a standard format or enter a custom aspect ratio. Palmier refits existing clips when the canvas size changes.
Frame rate
Choose the timeline frame rate before editing when possible. Changing it later rescales clip positions and durations to preserve timing.
Basic edits
Most timeline edits start by selecting a clip and changing its visible range or position.
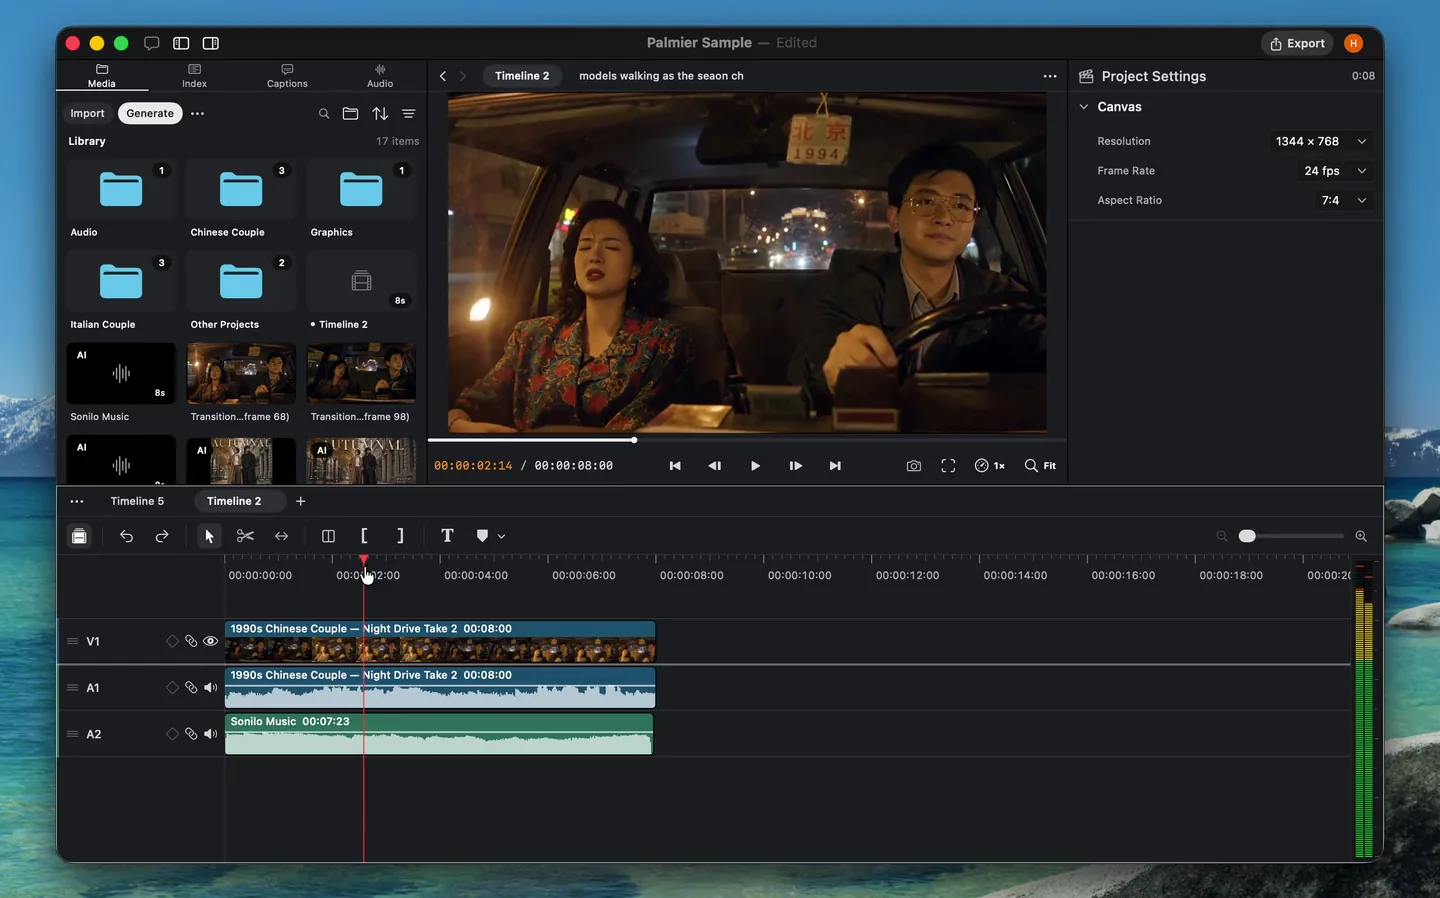
Trim and extend
Drag either edge of a clip inward to trim it. Drag outward to reveal more of the source media when additional frames are available.
Linked video and audio trim together by default. Unlink them first when you need an independent J-cut or L-cut.
Shortcut: Press Q to trim the start to the playhead or W to trim the end.
Cut
Use the razor or split command to add a cut at the playhead. Splitting creates two clips without removing media or changing the timing of later clips.
Shortcut: Press C for the Razor tool or ⌘K to split selected clips at the playhead.
Ripple
Ripple edits close or open space while moving later clips:
- Ripple trim changes a clip edge and shifts everything after it.
- Ripple insert opens a gap before adding new media.
- Ripple delete removes a range and closes the gap.
Sync-locked tracks move with the edit so related content stays aligned.
Shortcuts: Use ⇧ drag edge for Ripple Trim, ⌘ drag media for Ripple Insert, or ⇧⌫ for Ripple Delete.
Slip
Slip Edit changes the visible source range without moving the clip or changing its timeline duration.
Shortcut: Press T for the Slip tool, then drag the body of a clip.
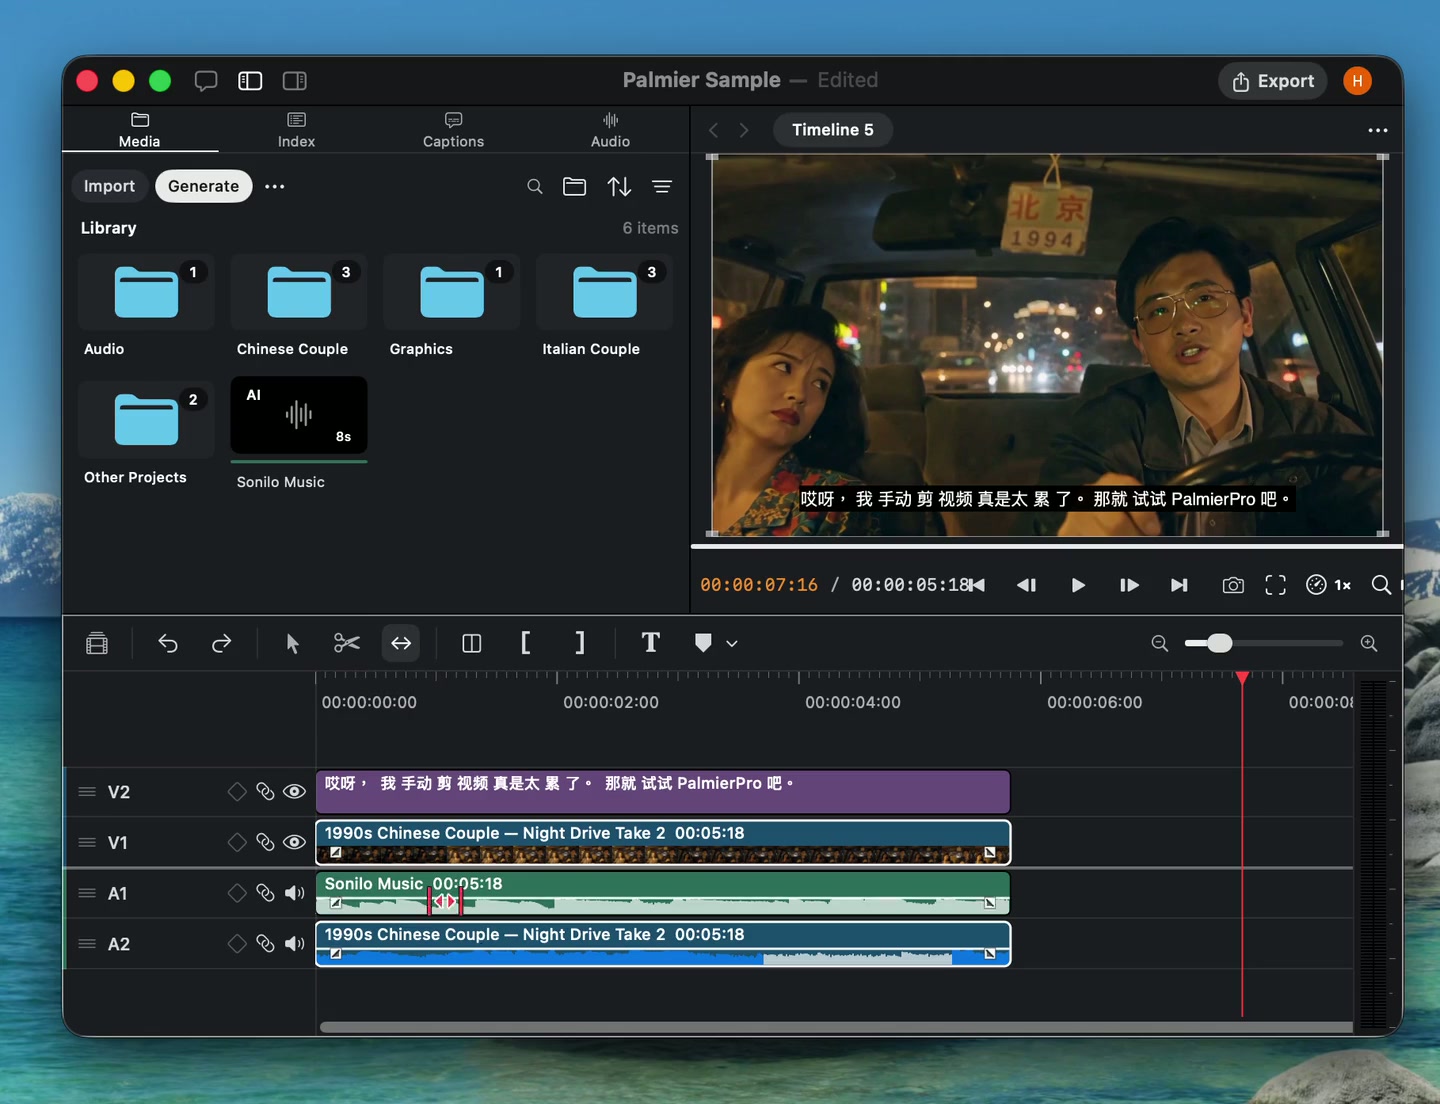
Swap media
Right-click a clip and select Swap Media, then choose its replacement from the media library. Palmier preserves the clip's timing, framing, effects, and keyframes. The replacement must be the same media type and long enough to cover the visible source range.
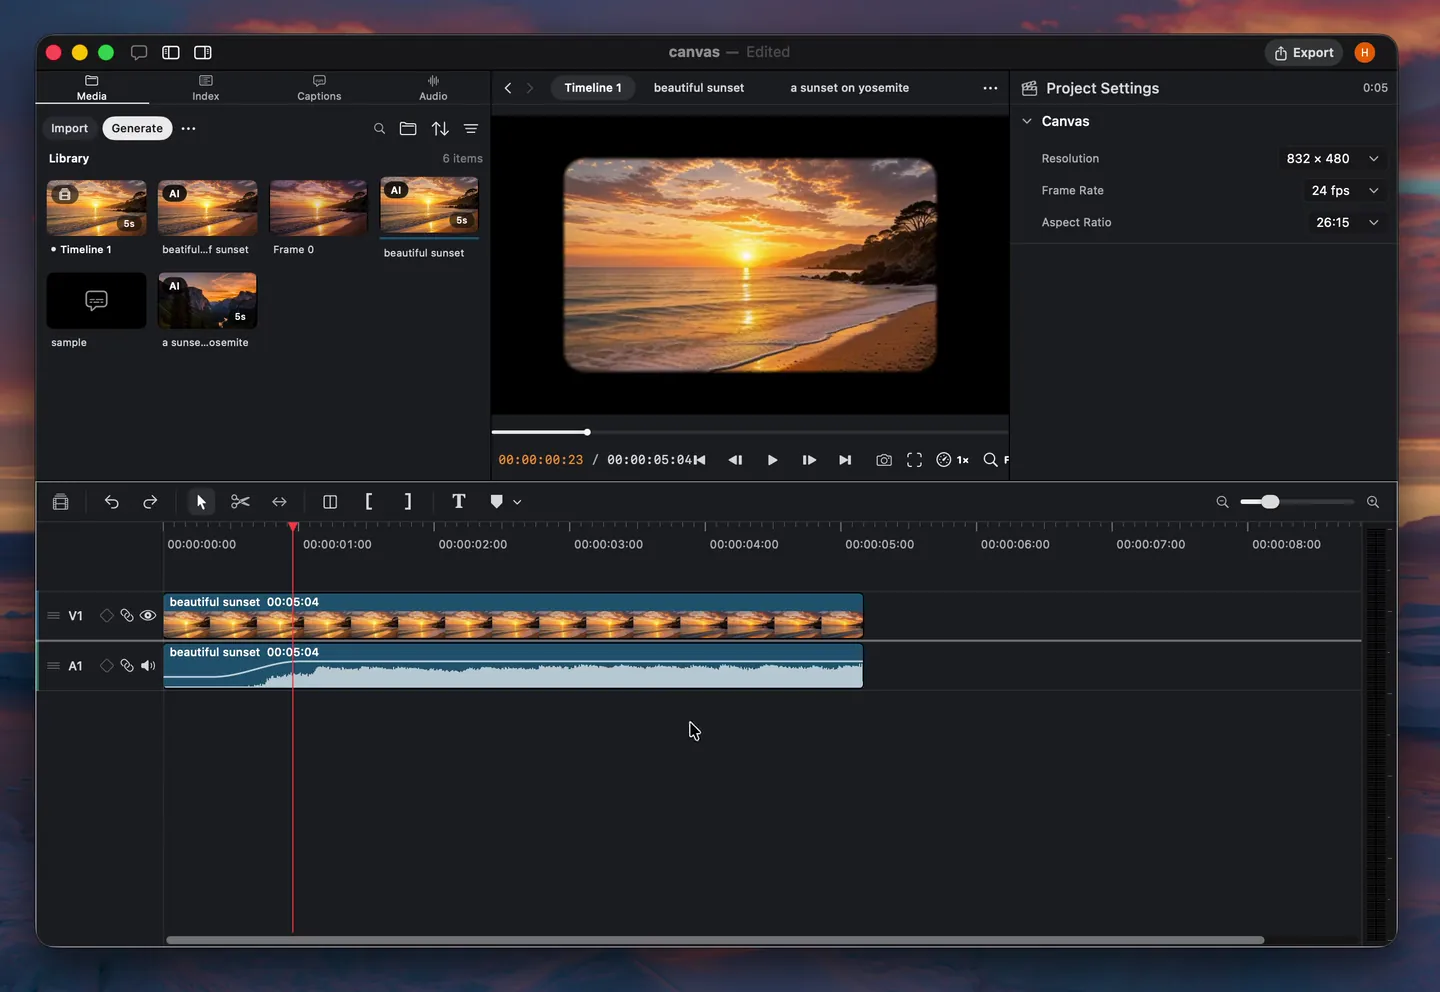
Link and unlink
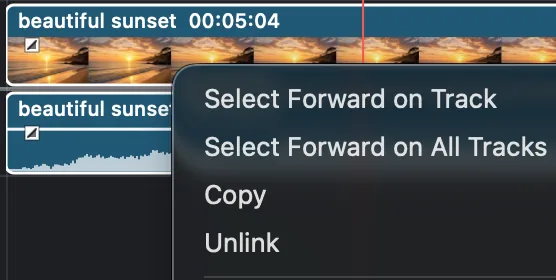
Link video and audio clips when they should move and trim together. Unlink them before adjusting one side independently for a J-cut or L-cut.
Sync lock
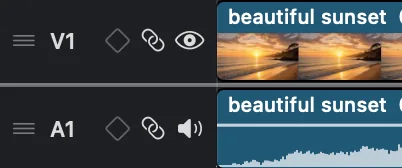
Use the sync button in a track header to control whether ripple edits move that track. Keep it enabled when clips should shift with edits on other tracks, or disable it when the track should stay in place.
Fade handles
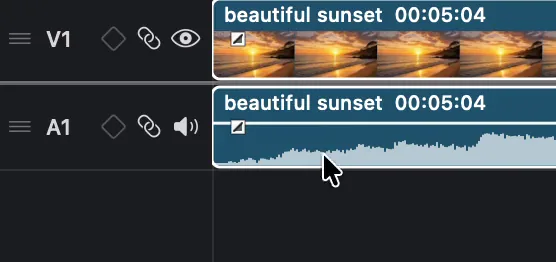
Hover over or select a clip to reveal its fade handles. Drag the handle at either end to set the fade duration. Visual clips fade opacity, while audio clips fade volume.
Inspector panel
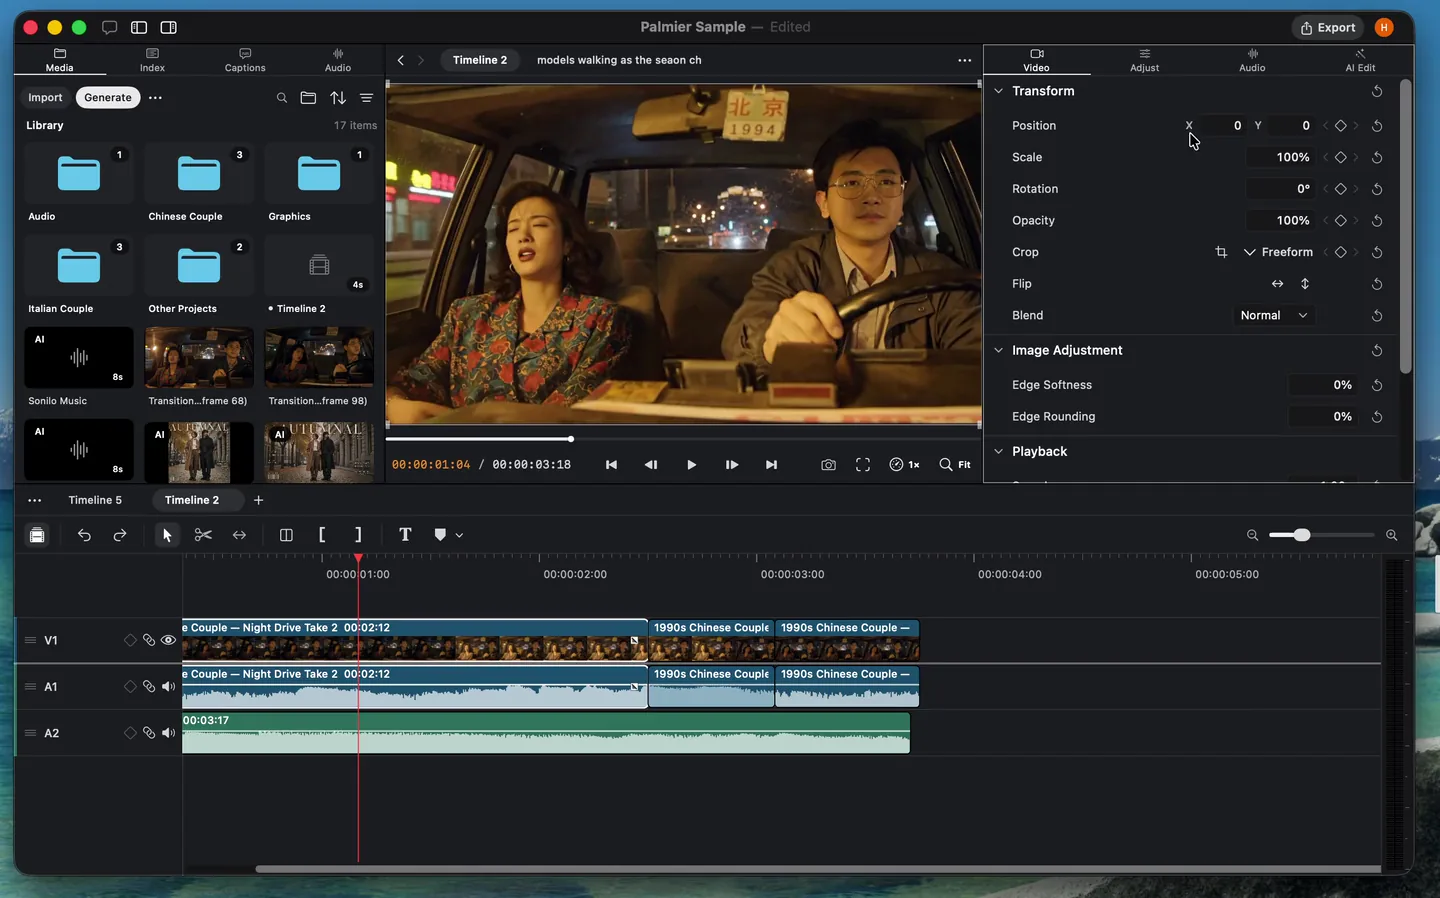
Select a clip to edit its properties in the inspector on the right side of the workspace.
Video controls
Video and image clips include controls for position, scale, rotation, opacity, crop, flip, blend mode, playback speed, edge softness, edge rounding, masks, color, and effects.
Static controls apply one value to the full clip. Use keyframes when a value should change over time.
Audio controls
Audio clips include controls for volume, fades, and denoise. Linked audio can be adjusted separately without unlinking it from the video.
Keyframes
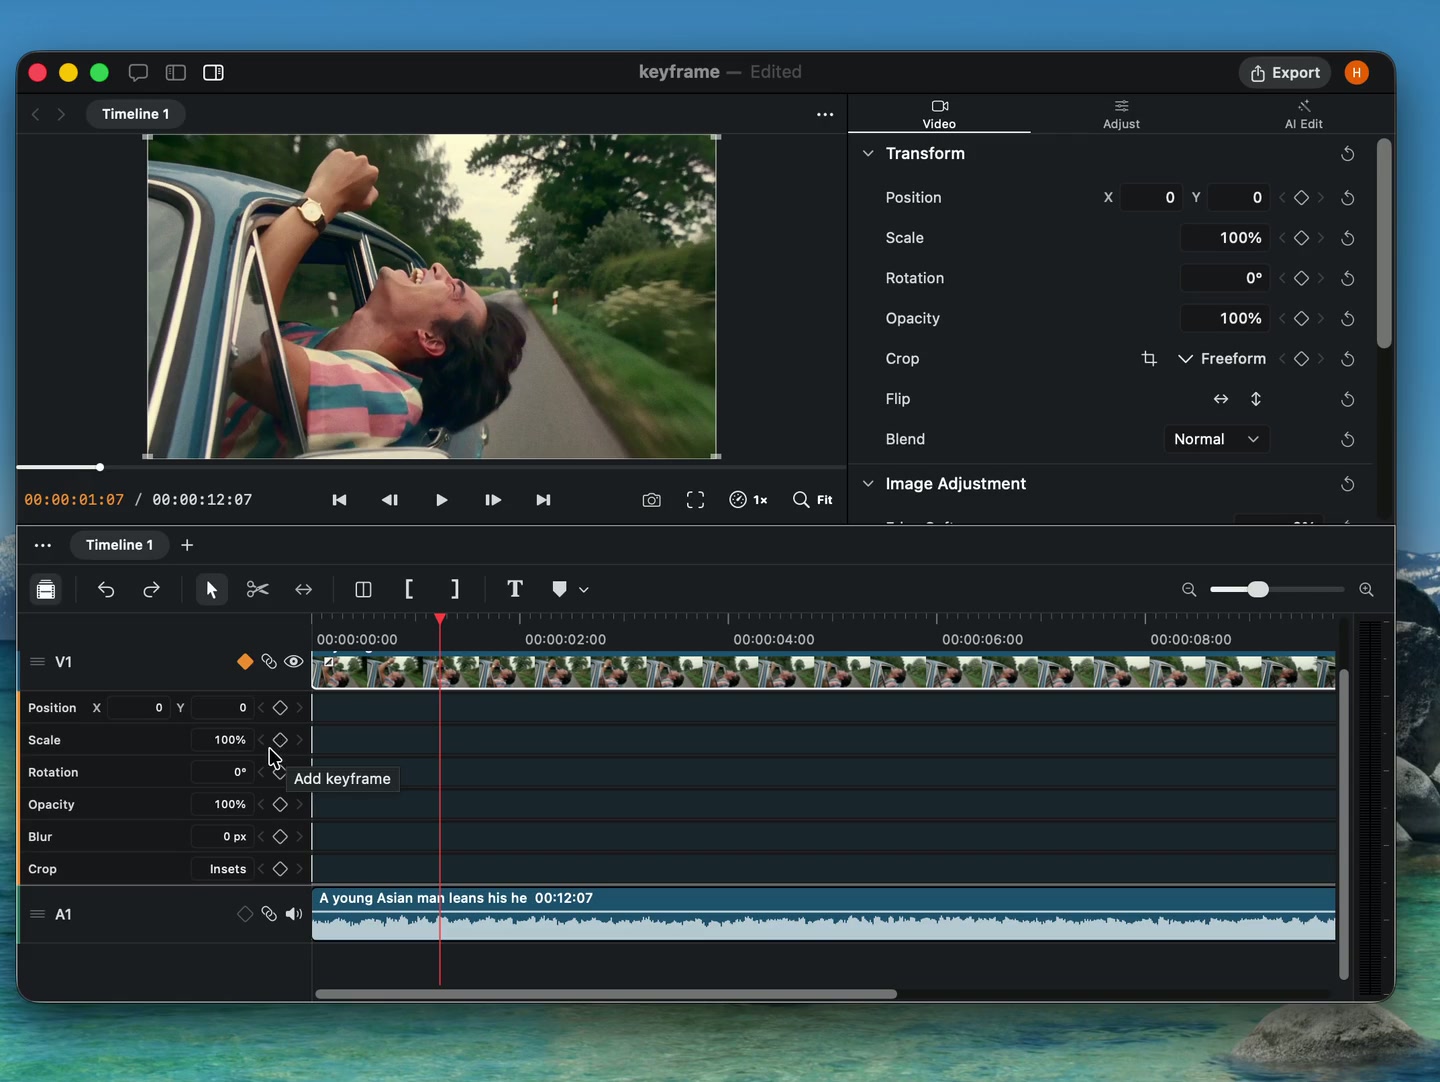
Keyframes animate a property over the duration of a clip.
Keyframe lanes
Expand a track to show keyframe lanes beneath its clips. Add keyframes at the playhead, then change the value at different points in time.
Supported properties
Animate position, scale, rotation, opacity, crop, blur, and audio volume. Use interpolation controls to change how values move between keyframes.
Audio keyframes
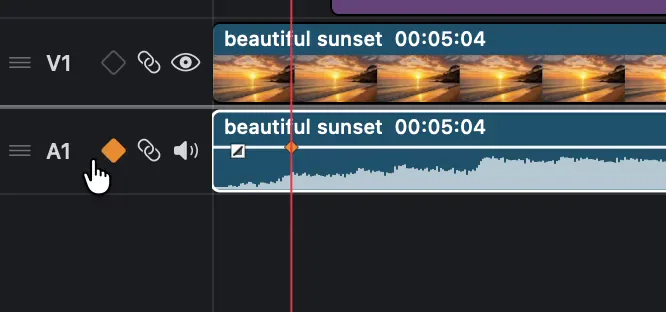
Use volume keyframes when the audio level needs to change within a clip. ⌘ click an audio clip to add a keyframe, then drag the keyframe horizontally to change its timing or vertically to change its level.
Multiple timelines
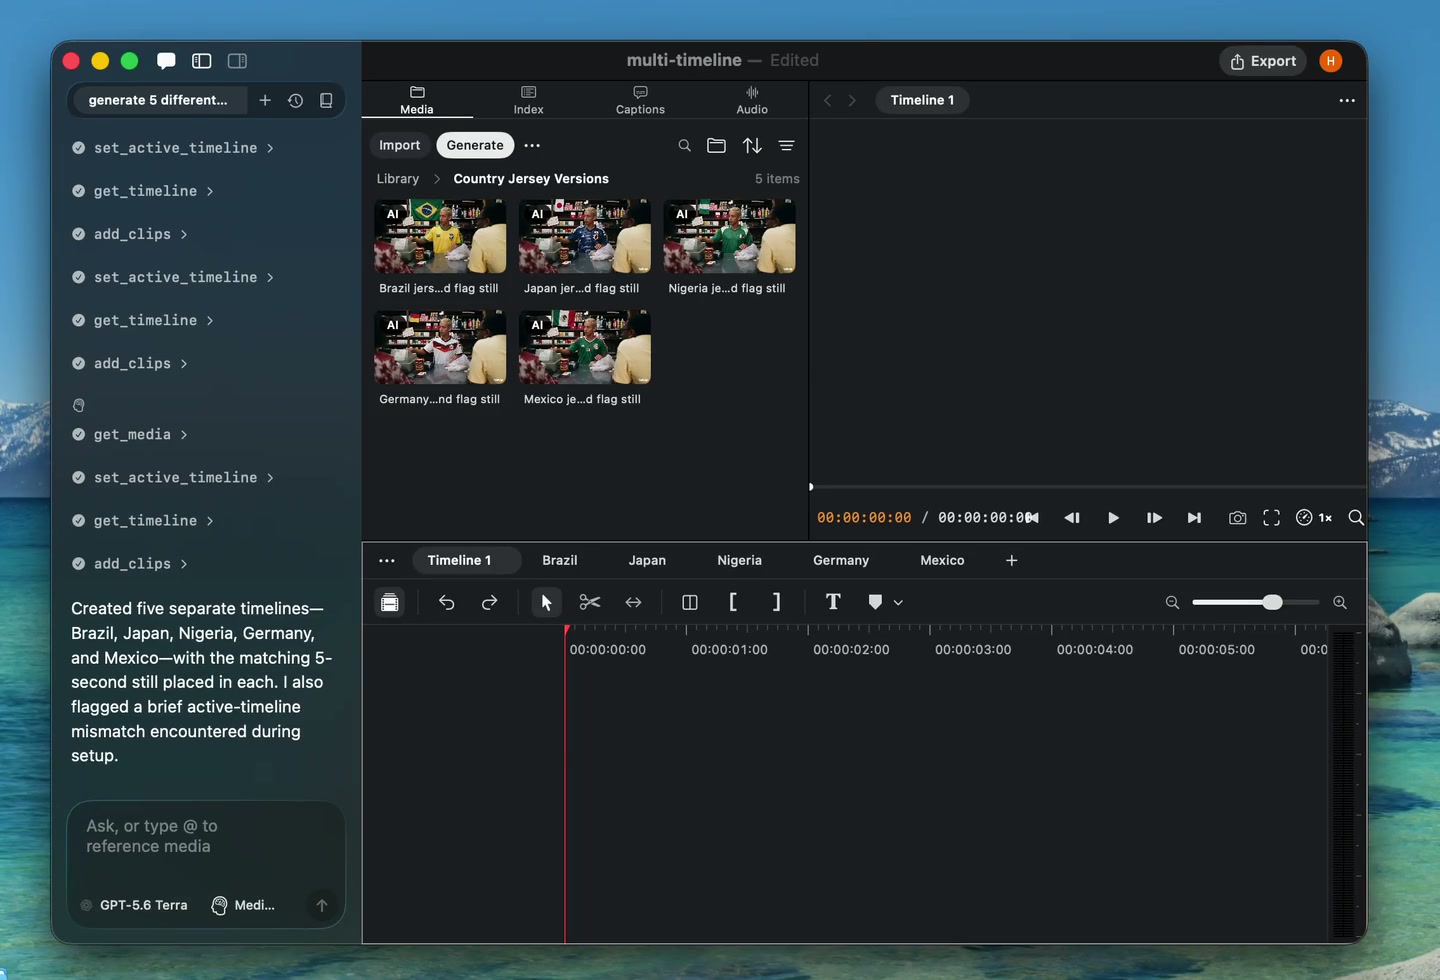
A project can contain several timelines for alternate versions, aspect ratios, scenes, or reusable sequences.
Create and duplicate
Create an empty timeline for a new edit or duplicate an existing timeline before making a different version.
Nested timelines
Place one timeline inside another as a sequence clip. Changes inside the nested timeline update wherever that sequence is used.
Markers
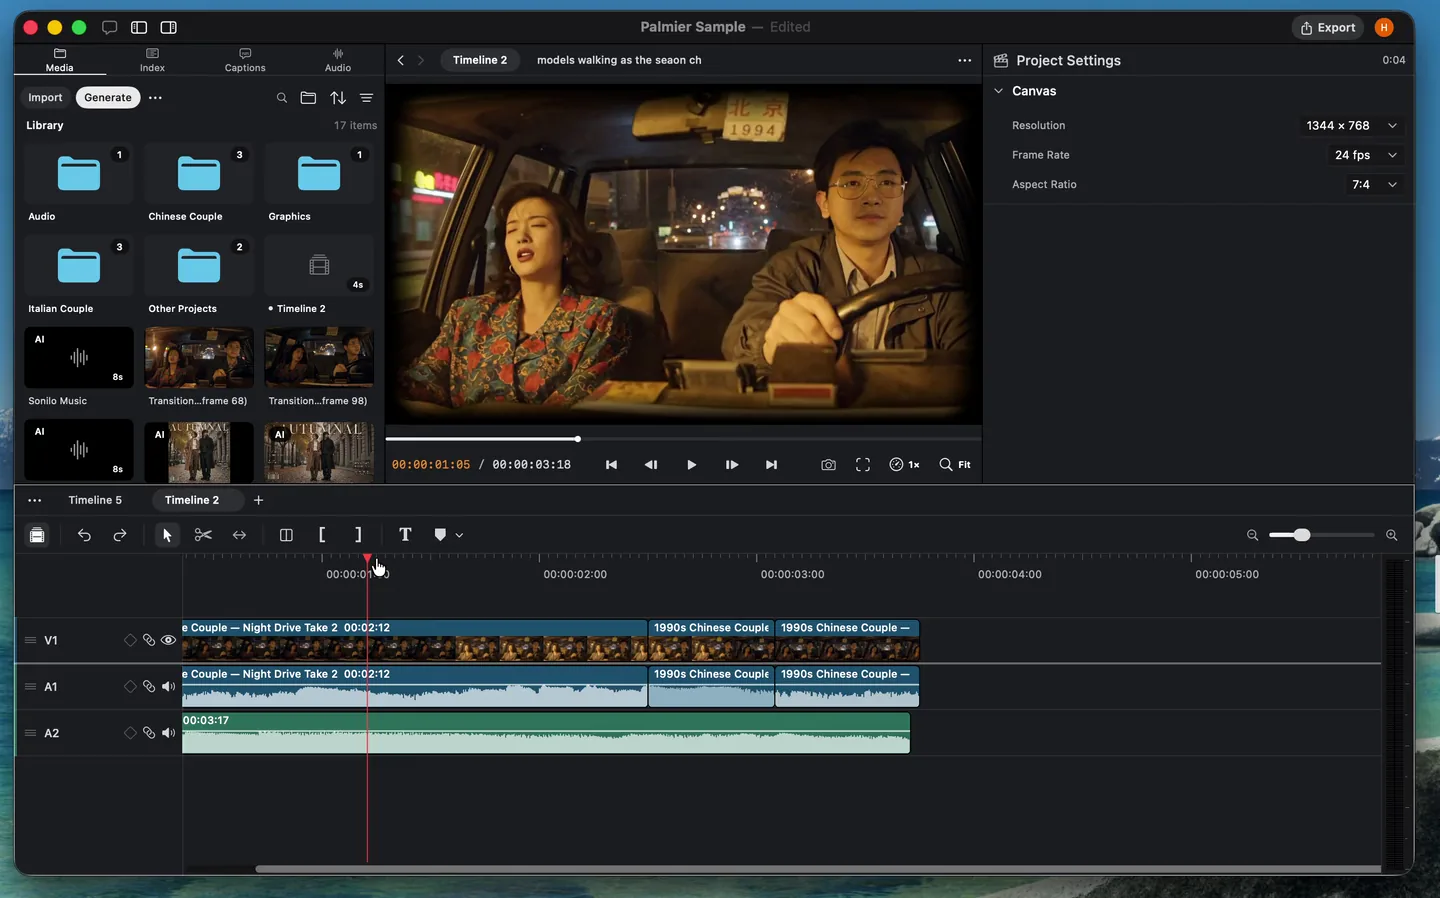
Markers attach feedback, notes, or Agent instructions to the timeline.
Point and range markers
Add a point marker for one moment or a range marker when feedback covers a longer section. Markers can follow their content through ripple edits.
Shortcuts: Press M to add a marker, ⇧ drag ruler to select a range, or I and O to mark the range boundaries.
Agent review
Agent can read marker comments, complete the requested work, and return markers for review. Resolve a marker after approving the result.
Timeline Index
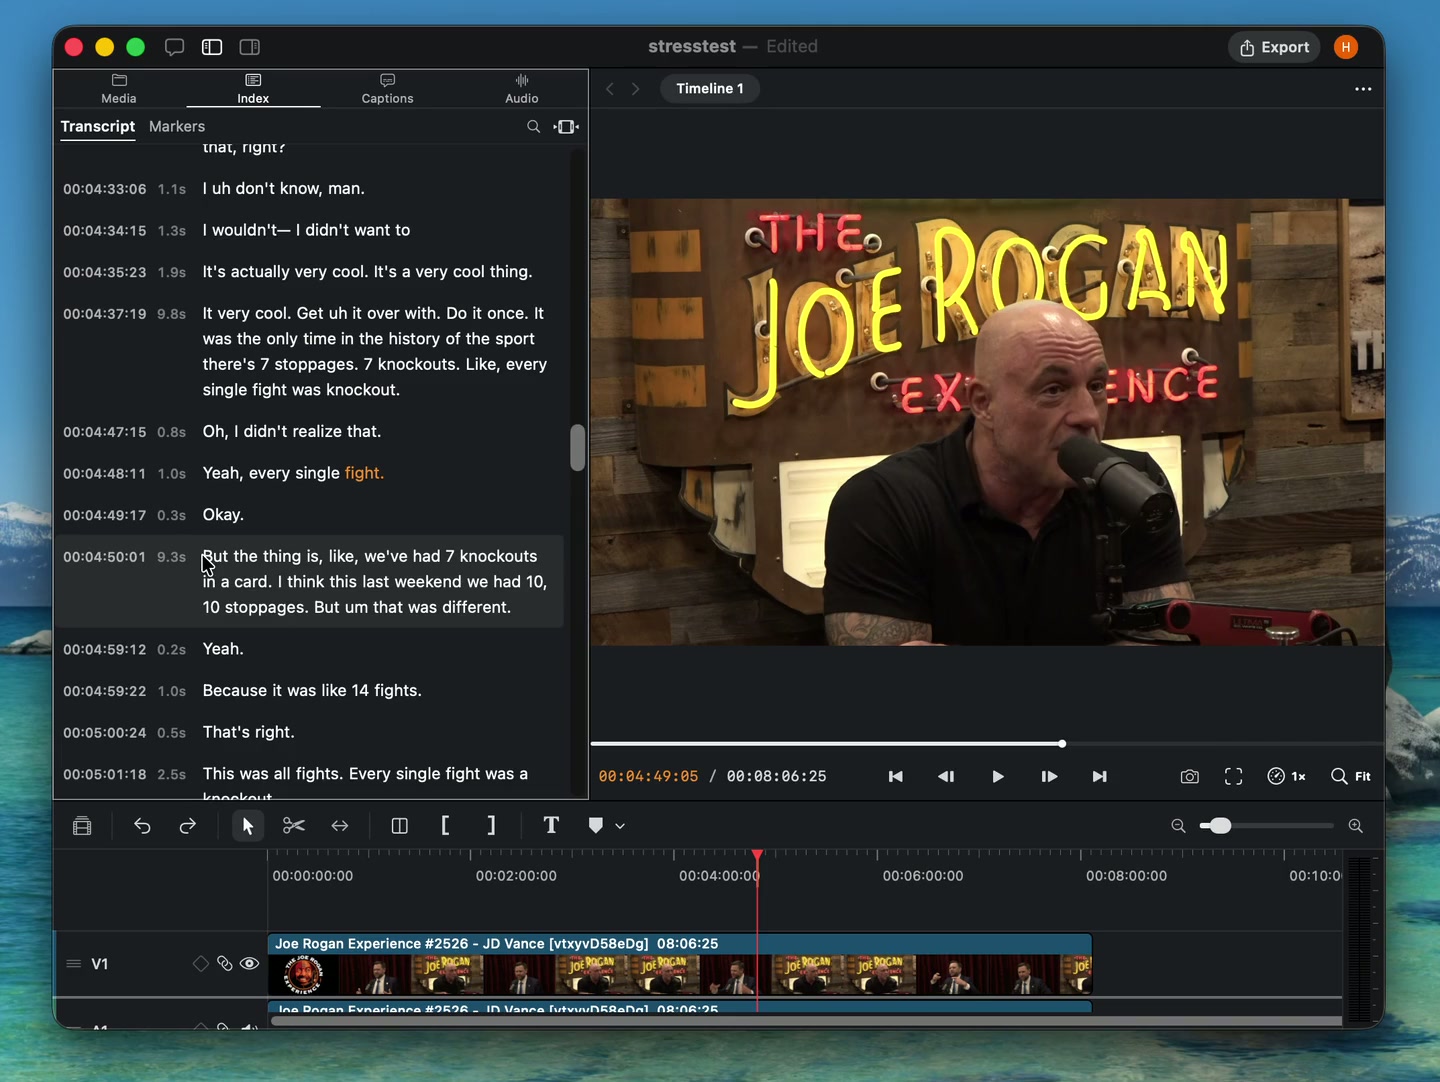
Timeline Index provides text-based navigation for longer edits.
Transcript
Search spoken content and jump directly to matching moments. Select transcript words when you want to create a timed marker.
Captions and markers
Review caption groups and timeline markers without scanning every track. Open an item to move the playhead to its position.
Canvas controls
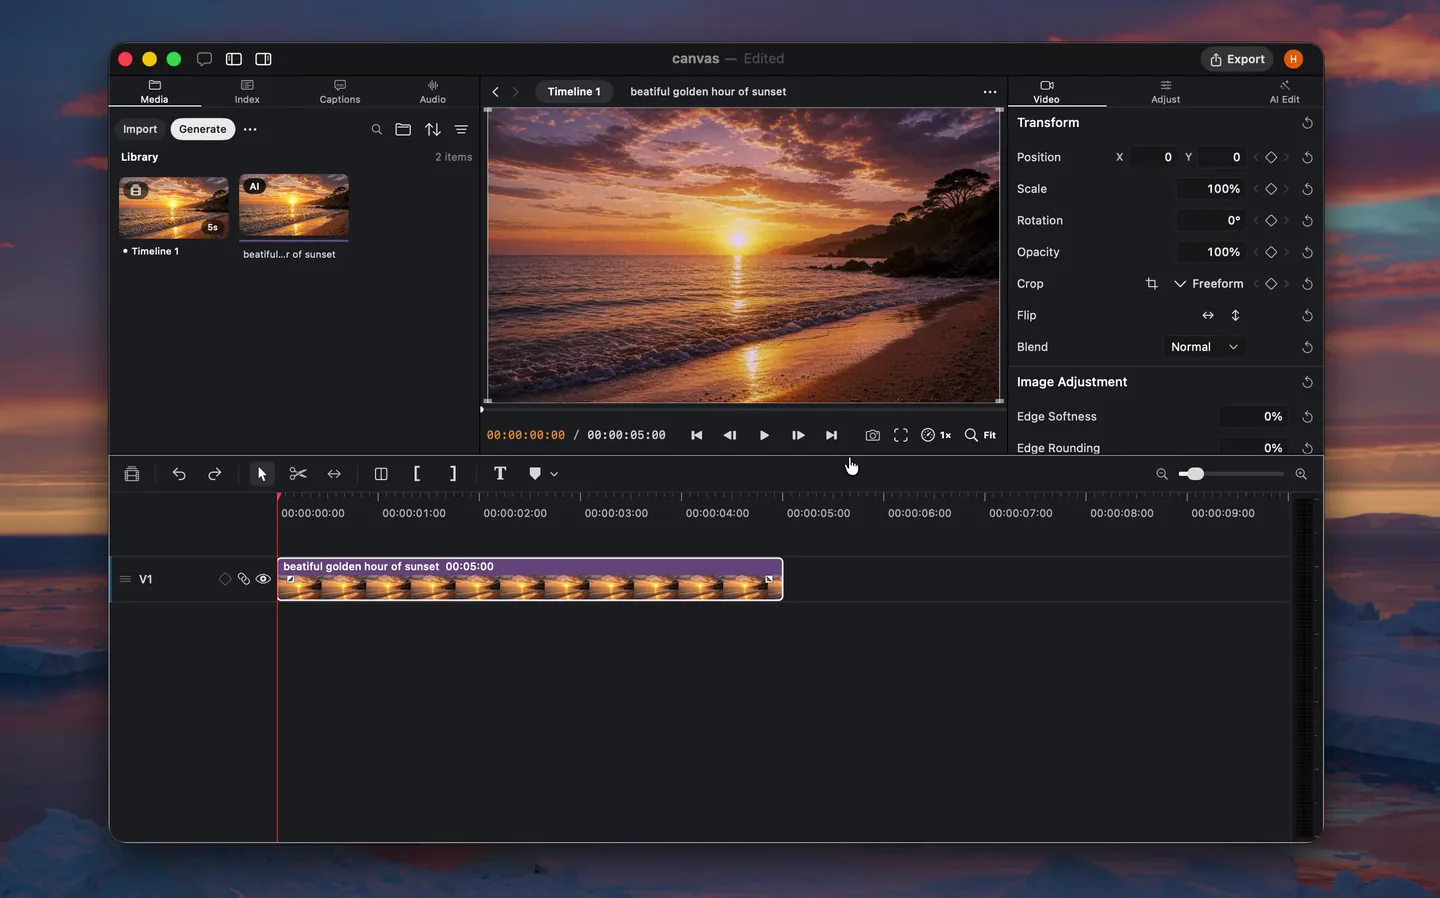
The canvas provides controls for preview scale, playback position, guides, and frame capture.
Zoom and time
Zoom the preview to inspect detail or fit the full composition. Use the time display and playback controls to move to an exact frame.
Shortcuts: Press Space to play or pause, use ← and → to step by frame, and use ⌘ scroll to zoom the preview.
Guides
Overlay grids, safe zones, and format references while composing a shot. Guides only affect the editor preview and are not included in exports.
Capture frame
Capture the current composited frame as a new image asset. The result includes visible clips, transforms, color, effects, text, and captions.